
How to Upload Embroidery Files to Your Machine: The Complete Beginner’s Guide
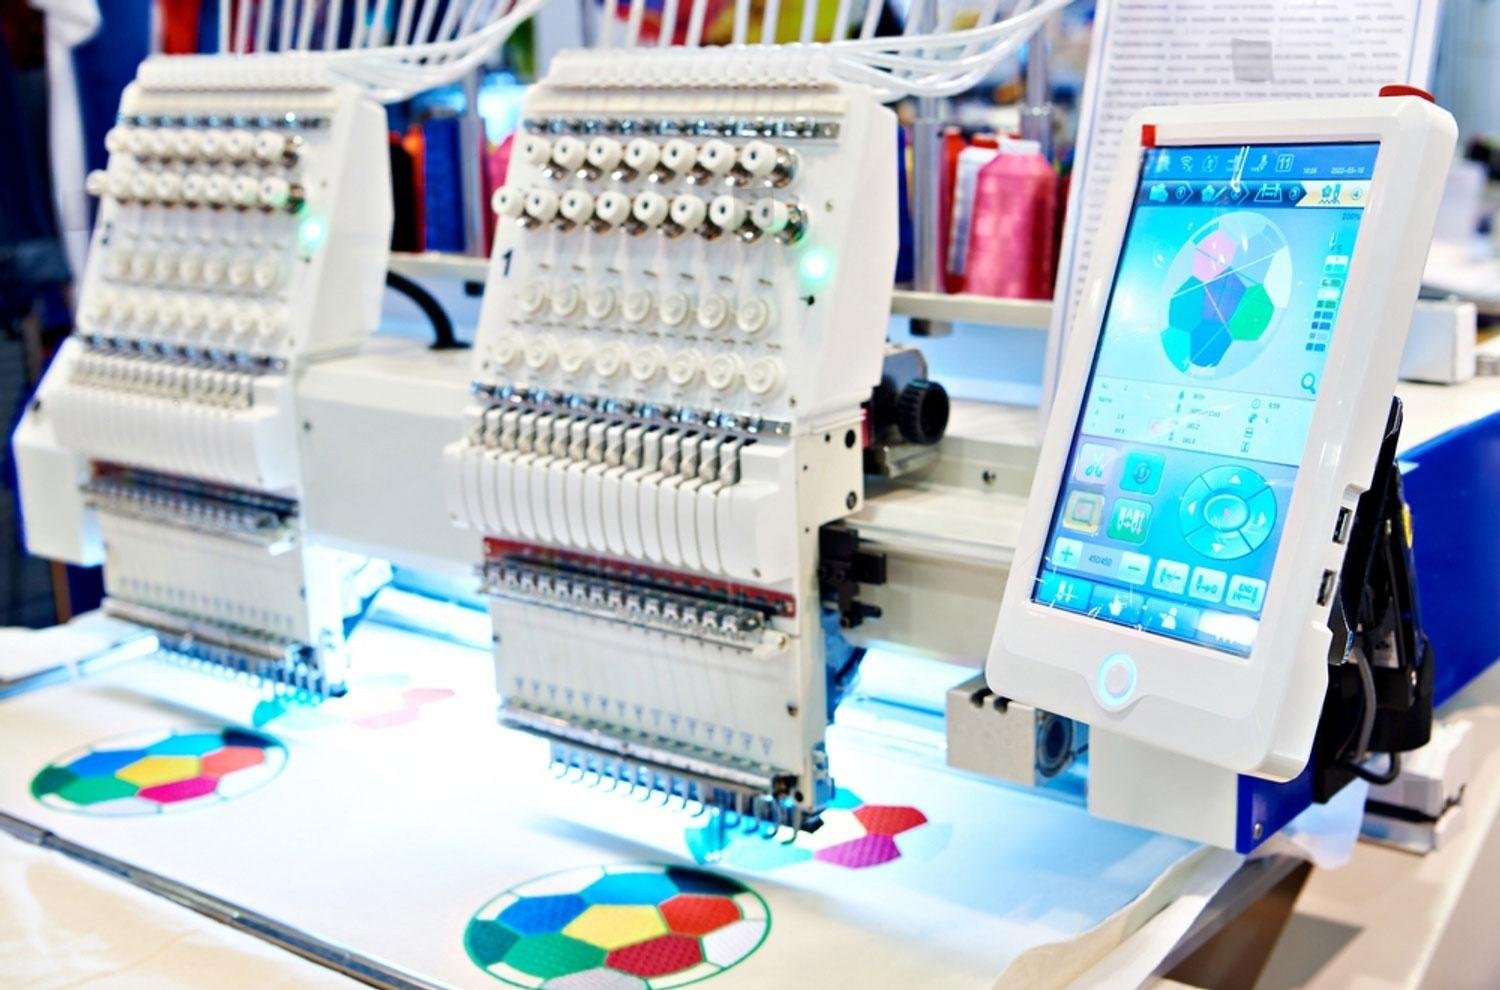
Stepping into the world of machine embroidery opens up endless possibilities for custom clothing, home decor, and personalized gifts. You buy a fantastic new design online, download it to your computer, and suddenly hit a wall. How do you get that digital design from your computer monitor onto your fabric? Knowing how to upload embroidery files to your machine is the crucial bridge between downloading a digital pattern and pressing start on your first stitch. While the process might feel slightly overwhelming at first, mastering a few basic methods will make transferring your designs second nature.
Every embroidery machine relies on specific file formats to interpret stitch types, color stops, and needle movements. Whether you own a Brother, Janome, Singer, or Bernina machine, the overall transfer concepts remain very similar. Modern machines offer several flexible transfer methods, including standard USB drives, direct cable connections, and seamless Wi-Fi options. By understanding how these methods work, you can avoid common file errors and get straight to the fun part of crafting.
Step 1: Prepare and Format Your Embroidery Files Correctly
Before you even touch a USB drive or connect a transfer cable, you need to make sure your digital file is completely ready for your machine. Skipping file preparation is the single biggest reason beginners run into transfer errors.
Unzip Your Downloaded Folders
When you purchase or download an embroidery design online, it almost always arrives inside a compressed ZIP folder. Embroidery machines cannot read zipped files. Double-click the downloaded ZIP folder on your computer to open it, and then extract the files to a folder on your desktop.
Choose the Right File Extension
Digital embroidery files come in a wide variety of format extensions. Different machine brands read different languages. For example, Brother and Babylock machines read PES files, Janome machines require JEF files, and commercial machines often rely on DST files. Make sure you locate the specific file format that matches your machine brand from the extracted folder.
Keep File Names Short and Simple
Older and mid-range embroidery machines often struggle with long file names or special characters. If your file name reads something like "cute_puppy_portrait_v2_final_2026.pes," rename it to something short and simple, such as "puppy.pes." Avoid using spaces, symbols, or special characters in the file name to prevent loading glitches.
Step 2: Transferring Files Using a USB Flash Drive
The USB flash drive method represents the most common and reliable way to move designs from a computer to an embroidery machine. However, embroidery machines can be quite picky about the type of USB drive you use.
Use the Right Type of USB Drive
Many modern embroidery machines do not work well with massive, high-capacity USB drives or USB 3.0 technology. For the best performance, choose a smaller USB 2.0 flash drive, ideally between 2GB and 16GB in size. These smaller drives match the reading speed and memory capacity of your machine's onboard computer.
Format Your USB Drive Properly
To ensure your machine recognizes your flash drive, format it to FAT32. To do this on a Windows computer, right-click your USB drive in File Explorer, select Format, choose FAT32 from the dropdown menu, and click Start. Note that formatting deletes everything on the drive, so save any important files elsewhere first.
Save the File to the Correct Folder
Plug your formatted USB drive into your computer, copy your prepared embroidery file, and paste it directly onto the drive. Some machine brands require you to place files inside a specific folder that the machine automatically generates on the drive, such as an "EmbFmt" or "Epps" folder. Check your user manual to see if your machine looks for a specific folder structure. Once transferred, safely eject the drive from your computer and plug it into your embroidery machine's USB port.
Step 3: Direct Cable and Wi-Fi Transfer Methods
If you prefer not to juggle USB drives, modern technology provides direct transfer options that send designs straight from your laptop or tablet to your sewing room setup.
Direct USB Cable Connection
Some embroidery machines allow you to connect your computer directly to the machine using a standard USB printer cable. When you plug the cable into both devices, your computer recognizes the embroidery machine as an external hard drive or connected device. From there, you simply drag and drop your unzipped file directly into the machine's internal memory folder.
Wireless Wi-Fi Transfers
Newer embroidery machines feature built-in Wi-Fi capabilities. To use wireless transfer, connect both your computer and your embroidery machine to the same home Wi-Fi network. Most manufacturers offer free software or mobile apps, such as Brother Design Database Transfer or Janome Wireless Transfer. These programs allow you to send design files across your wireless network with a single click, completely eliminating physical drives and cables.
Common Transfer Errors and How to Solve Them
Even when you follow every step carefully, you might occasionally run into a minor hiccup. Here is how to troubleshoot the most frequent file transfer issues:
-
Machine says "No File Found": Double-check that you unzipped the folder and saved the correct file extension for your brand. Ensure the USB drive uses FAT32 formatting.
-
File appears grayed out on screen: This usually means the design exceeds your machine's maximum hoop size. Even if the file format is correct, the machine will hide designs that are too large to stitch safely.
-
Corrupted or missing stitches: Always use the "Safely Remove Hardware" option on your computer before unplugging your USB drive. Pulling the drive out abruptly can corrupt the design file.
Conclusion
Learning how to upload embroidery files to your machine is a foundational skill that opens the door to unlimited creativity. By unzipping your downloads, matching the file format to your machine brand, and using a properly formatted USB drive or Wi-Fi network, you can move your favorite designs seamlessly from screen to stitch. Once you establish a clean file transfer routine, you spend far less time troubleshooting computer settings and far more time enjoying your embroidery projects.

 English
 Arabic
 French
 Spanish
 Deutsch
 Turkish
 Dutch
Dutch
 Italiano
 Russian
 Romaian
 Portuguese (Brazil)
 Greek
Greek